Execute tests in BrowserStack device cloud
Download the sample app
wget https://github.com/testvagrant/Ekam-Template/releases/download/iosapp/sample_app.ipa
BrowserStack Configuration
Make sure you have a BrowserStack account. Please refer here
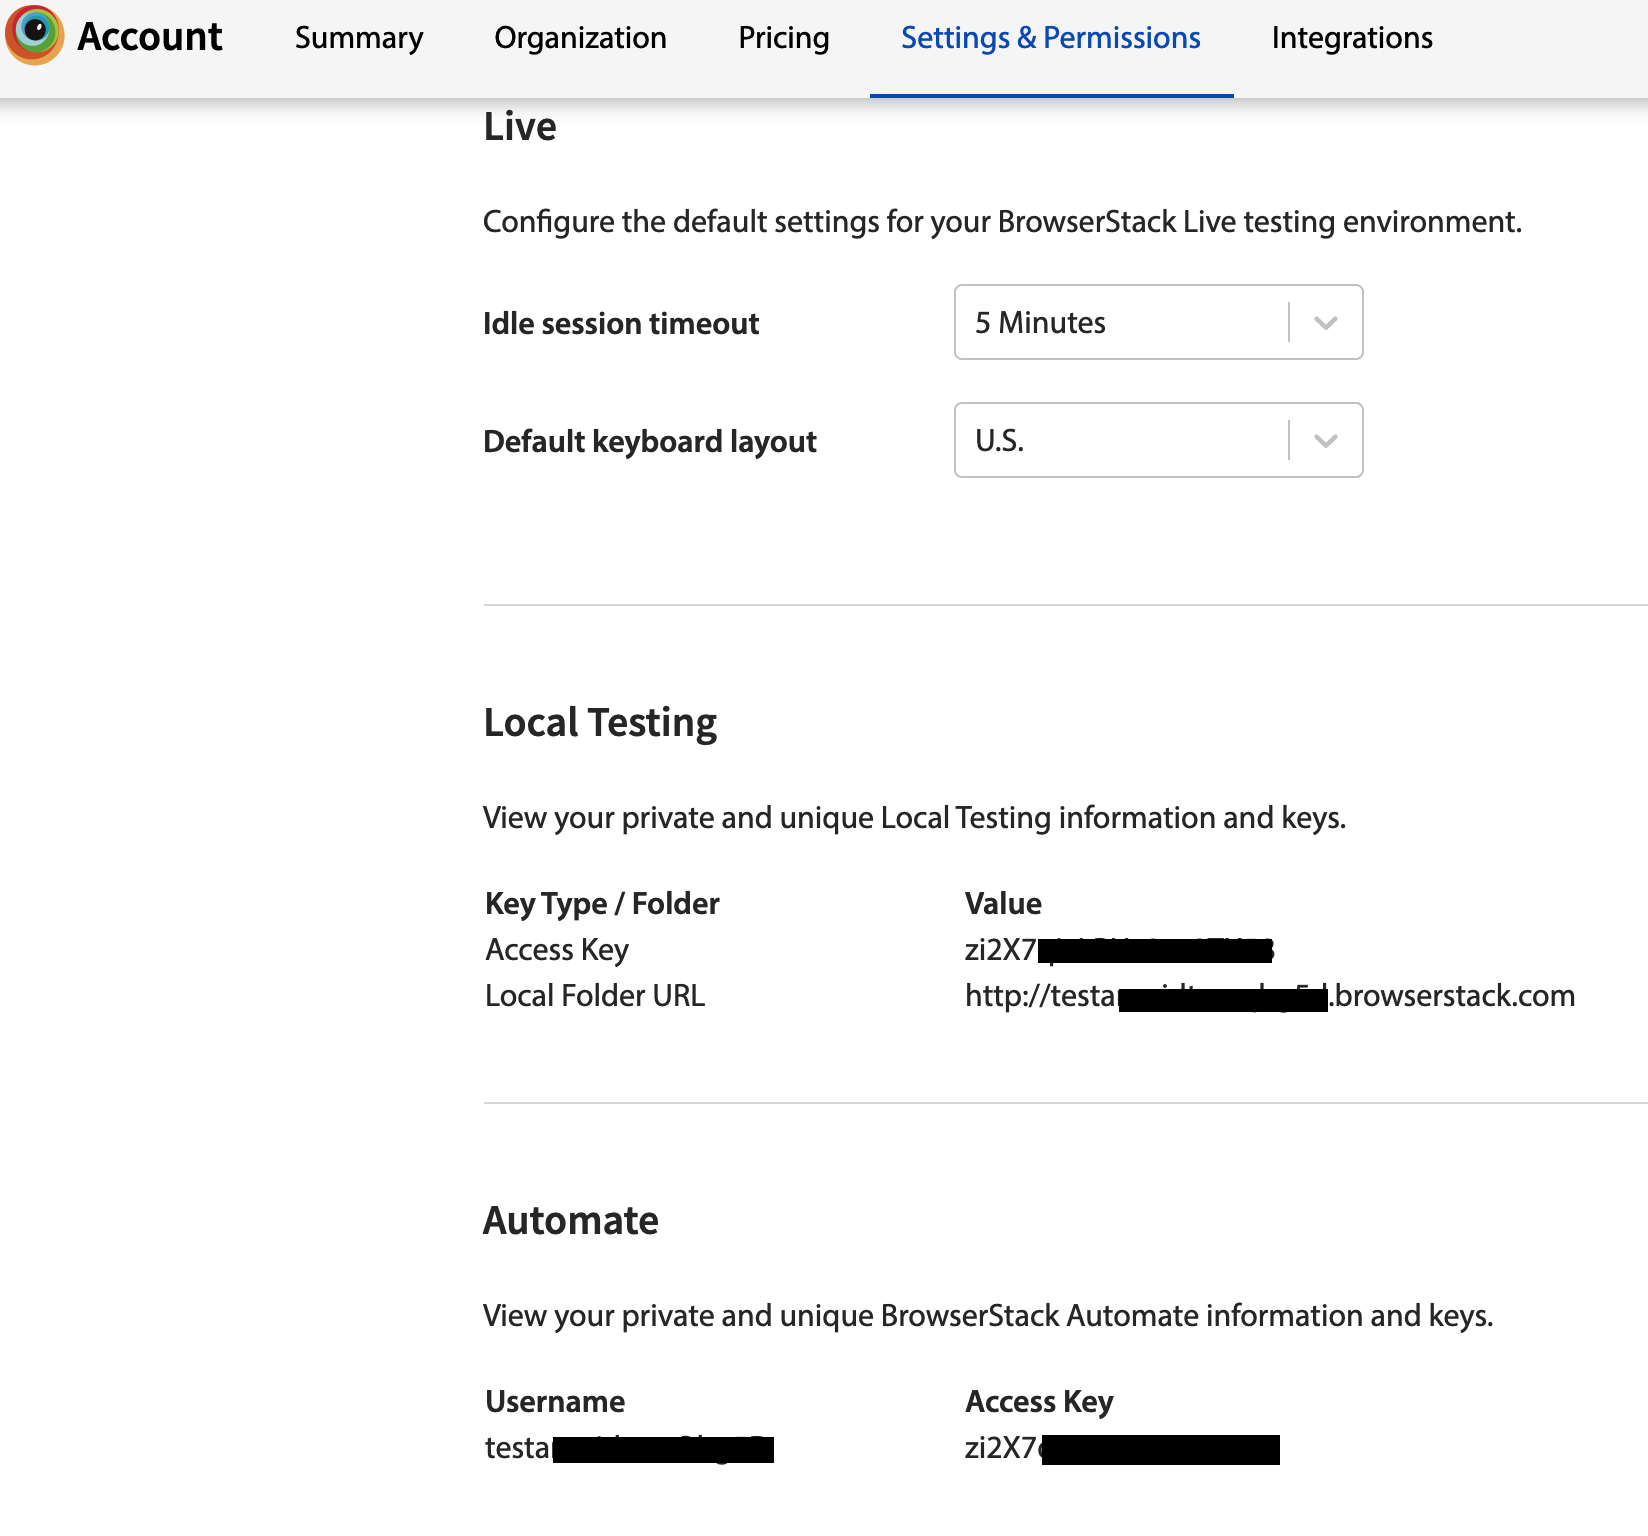
To run a test on BrowserStack, we need the respective account’s UserName and AccessKey.
Where to find it?
Login into BrowserStack
Click on the profile icon and Settings
- Get the Username and Access Key from Automate section

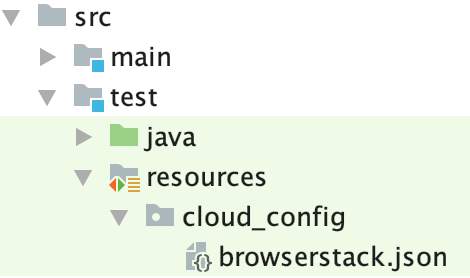
Create a cloud configuration file
Create browserstack.json file under the cloud_config folder

browserstack.json
{
 "username": "<provide your username>",
 "accessKey": "<probide your access key>",
 "hub": "hub-cloud.browserstack.com"
}
Specify app name and capabalities
Let us specify the name of the app & few mandatory desired capabilities to launch the application
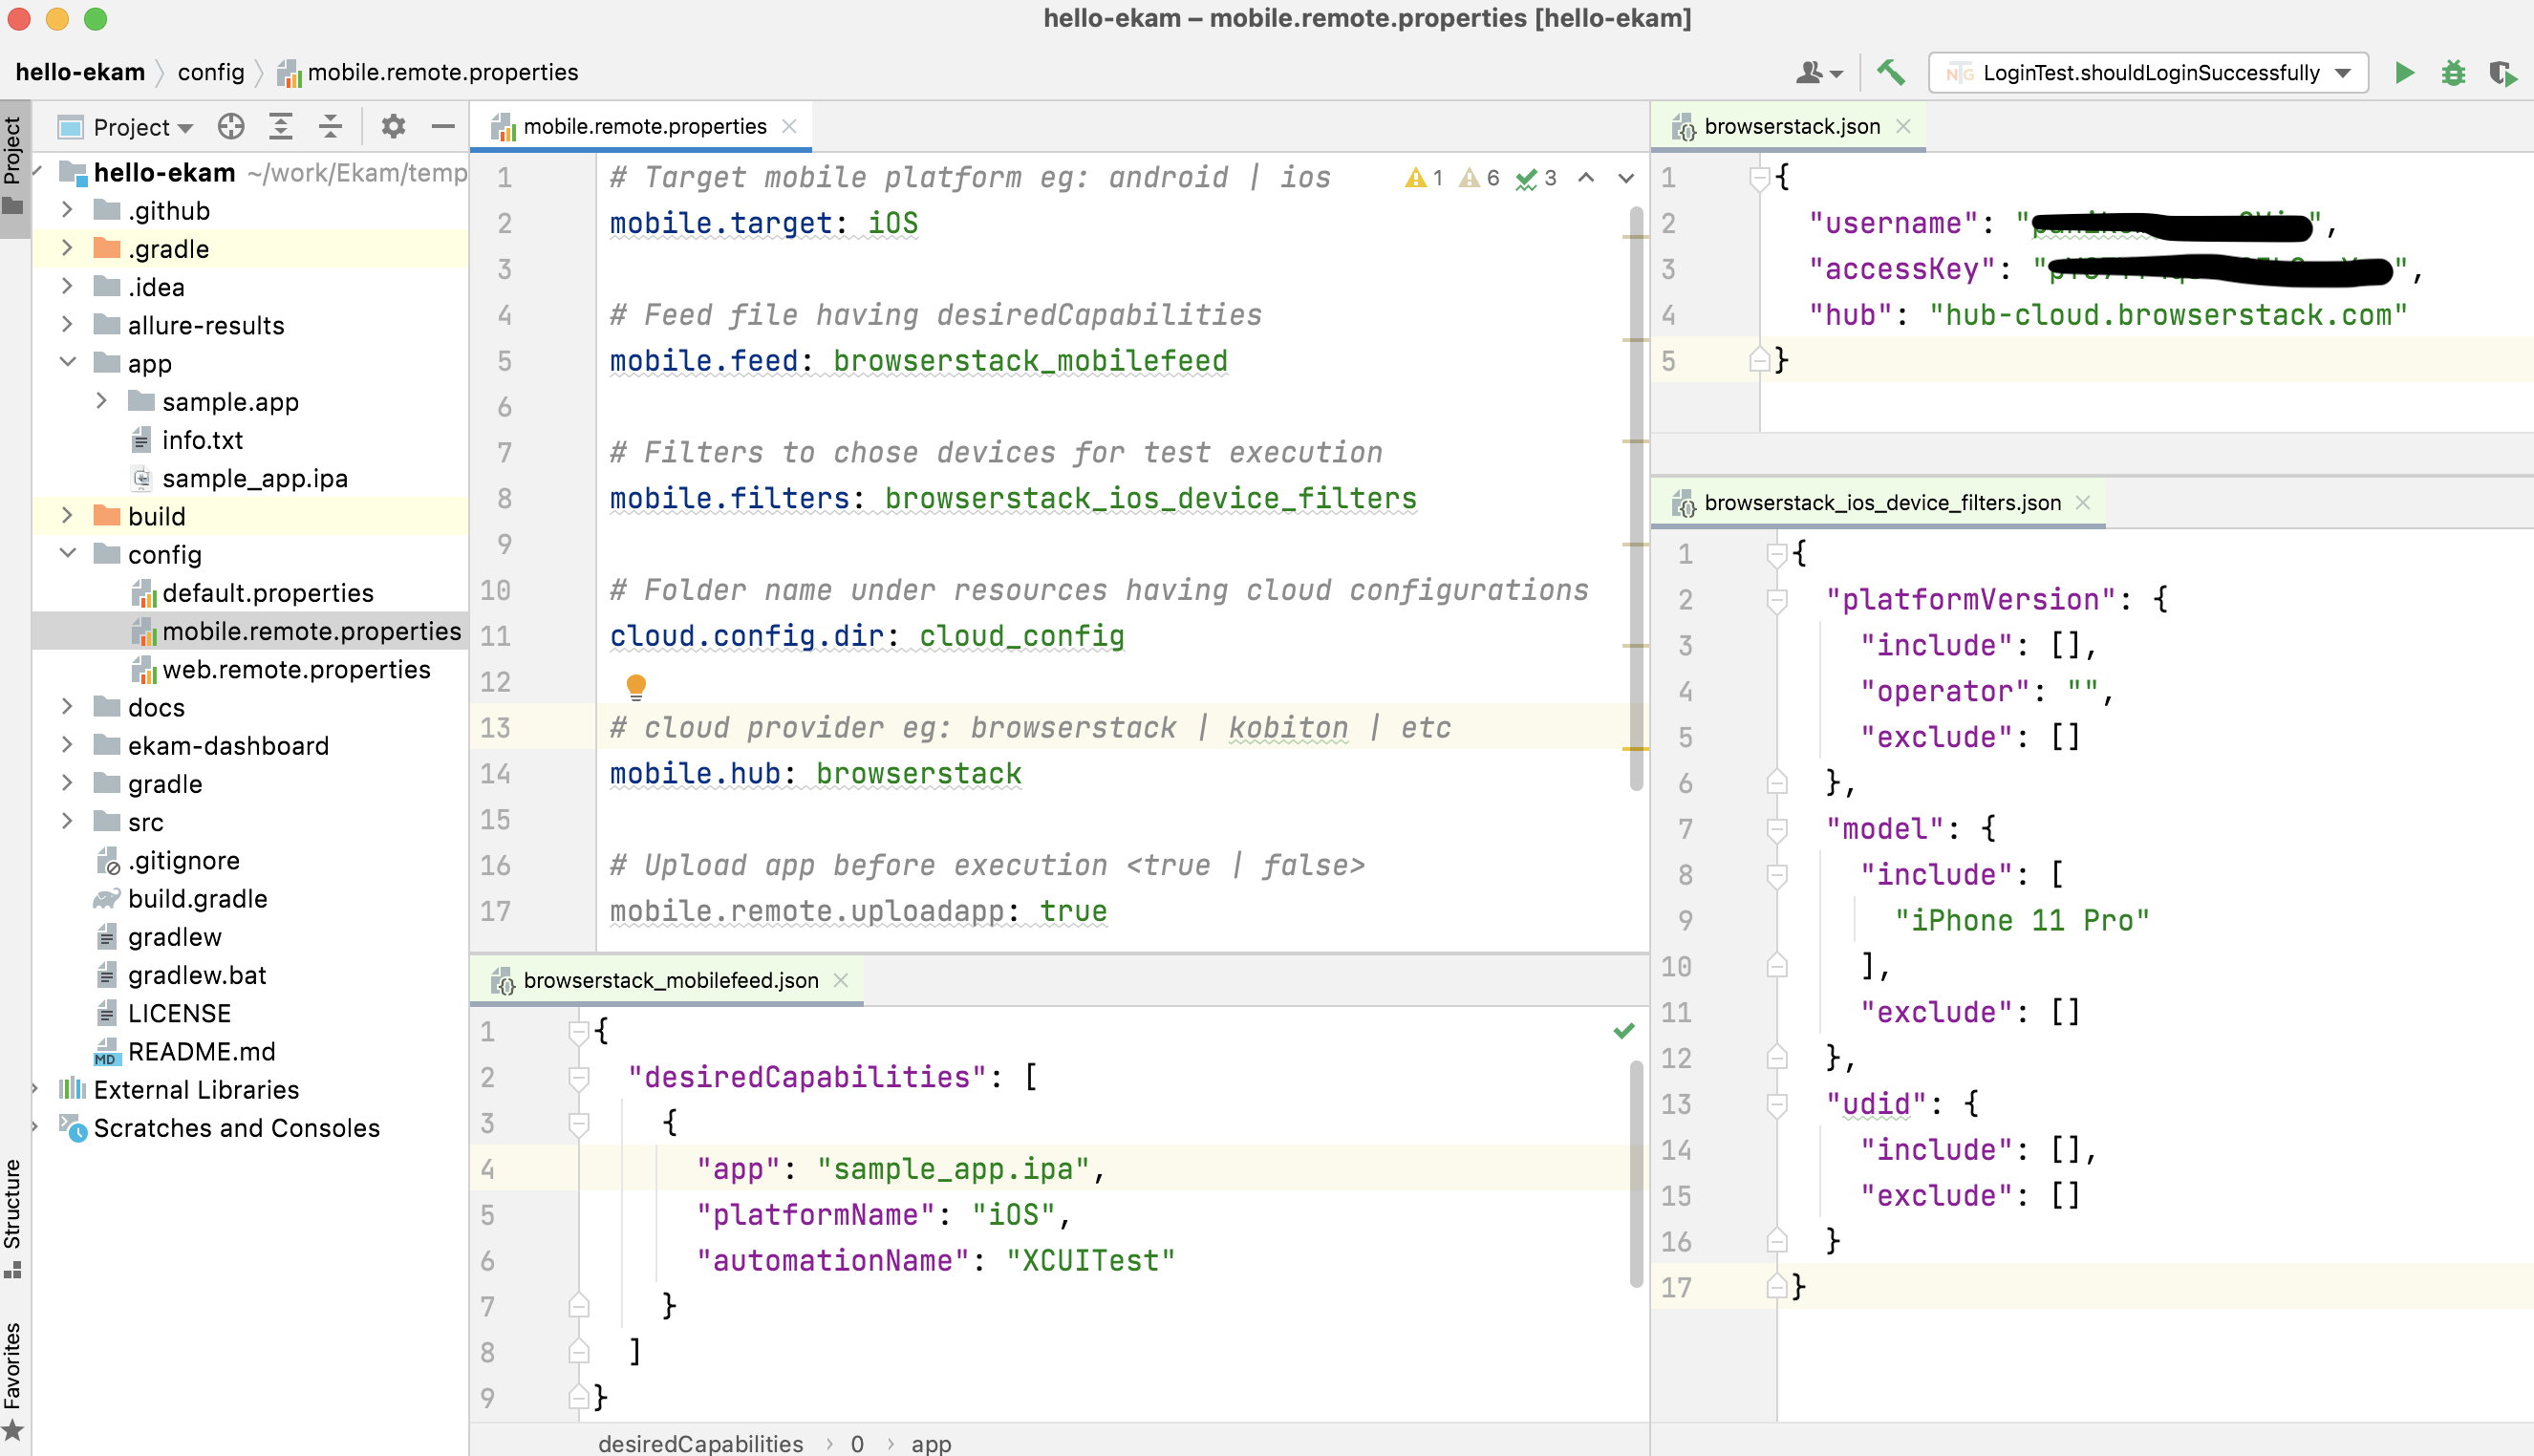
Create file resources/mobile/browserstack_mobilefeed.json file & edit properties as below
{
    "desiredCapabilities": [
        {
            "app": "sample_app.ipa",
            "platformName": "iOS",
            "automationName": "XCUITest"
        }
    ]
}
Filter devices for test execution
While executing tests in cloud devices, we often want to filters the devices/OS of our choice. We can pass this information by creating a file under resource/mobile as shown below
Under resources/mobile create a file browserstack_ios_device_filters.json and specify devices to execute tests on.
{
  "platformVersion": {
    "include": [],
    "operator": "",
    "exclude": []
  },
  "model": {
    "include": [
      "iPhone 11 Pro"
    ],
    "exclude": []
  },
  "udid": {
    "include": [],
    "exclude": []
  }
}
Update config
Let us update mobile.remote.properties config. Or you could choose to create a new configuration file most suitable to you.
Let us add below properties:
- mobile.target : Set to iOS to execute tests against iOS
- mobile.feed : Feed file having app name and other capabalities
- mobile.filters : File specifying devices to use for test execution
- cloud.config.dir : Folder having cloud provider details
- mobile.hub : File having hub config for cloud (
BrowserStackin this case) - mobile.remote.uploadapp : Set to
trueto upload the app to BrowserStack
# Target mobile platform eg: android | ios
mobile.target: iOS

# Feed file having desiredCapabilities
mobile.feed: browserstack_mobilefeed

# Filters to chose devices for test execution
mobile.filters: browserstack_ios_device_filters

# Folder name under resources having cloud configurations
cloud.config.dir: cloud_config

# cloud provider eg: browserstack | kobiton | etc
mobile.hub: browserstack

# Upload app before execution <true | false>
mobile.remote.uploadapp: true

Execute tests
Execute tests by specifying the config
./gradlew runMobileTests -Dconfig=mobile.remote
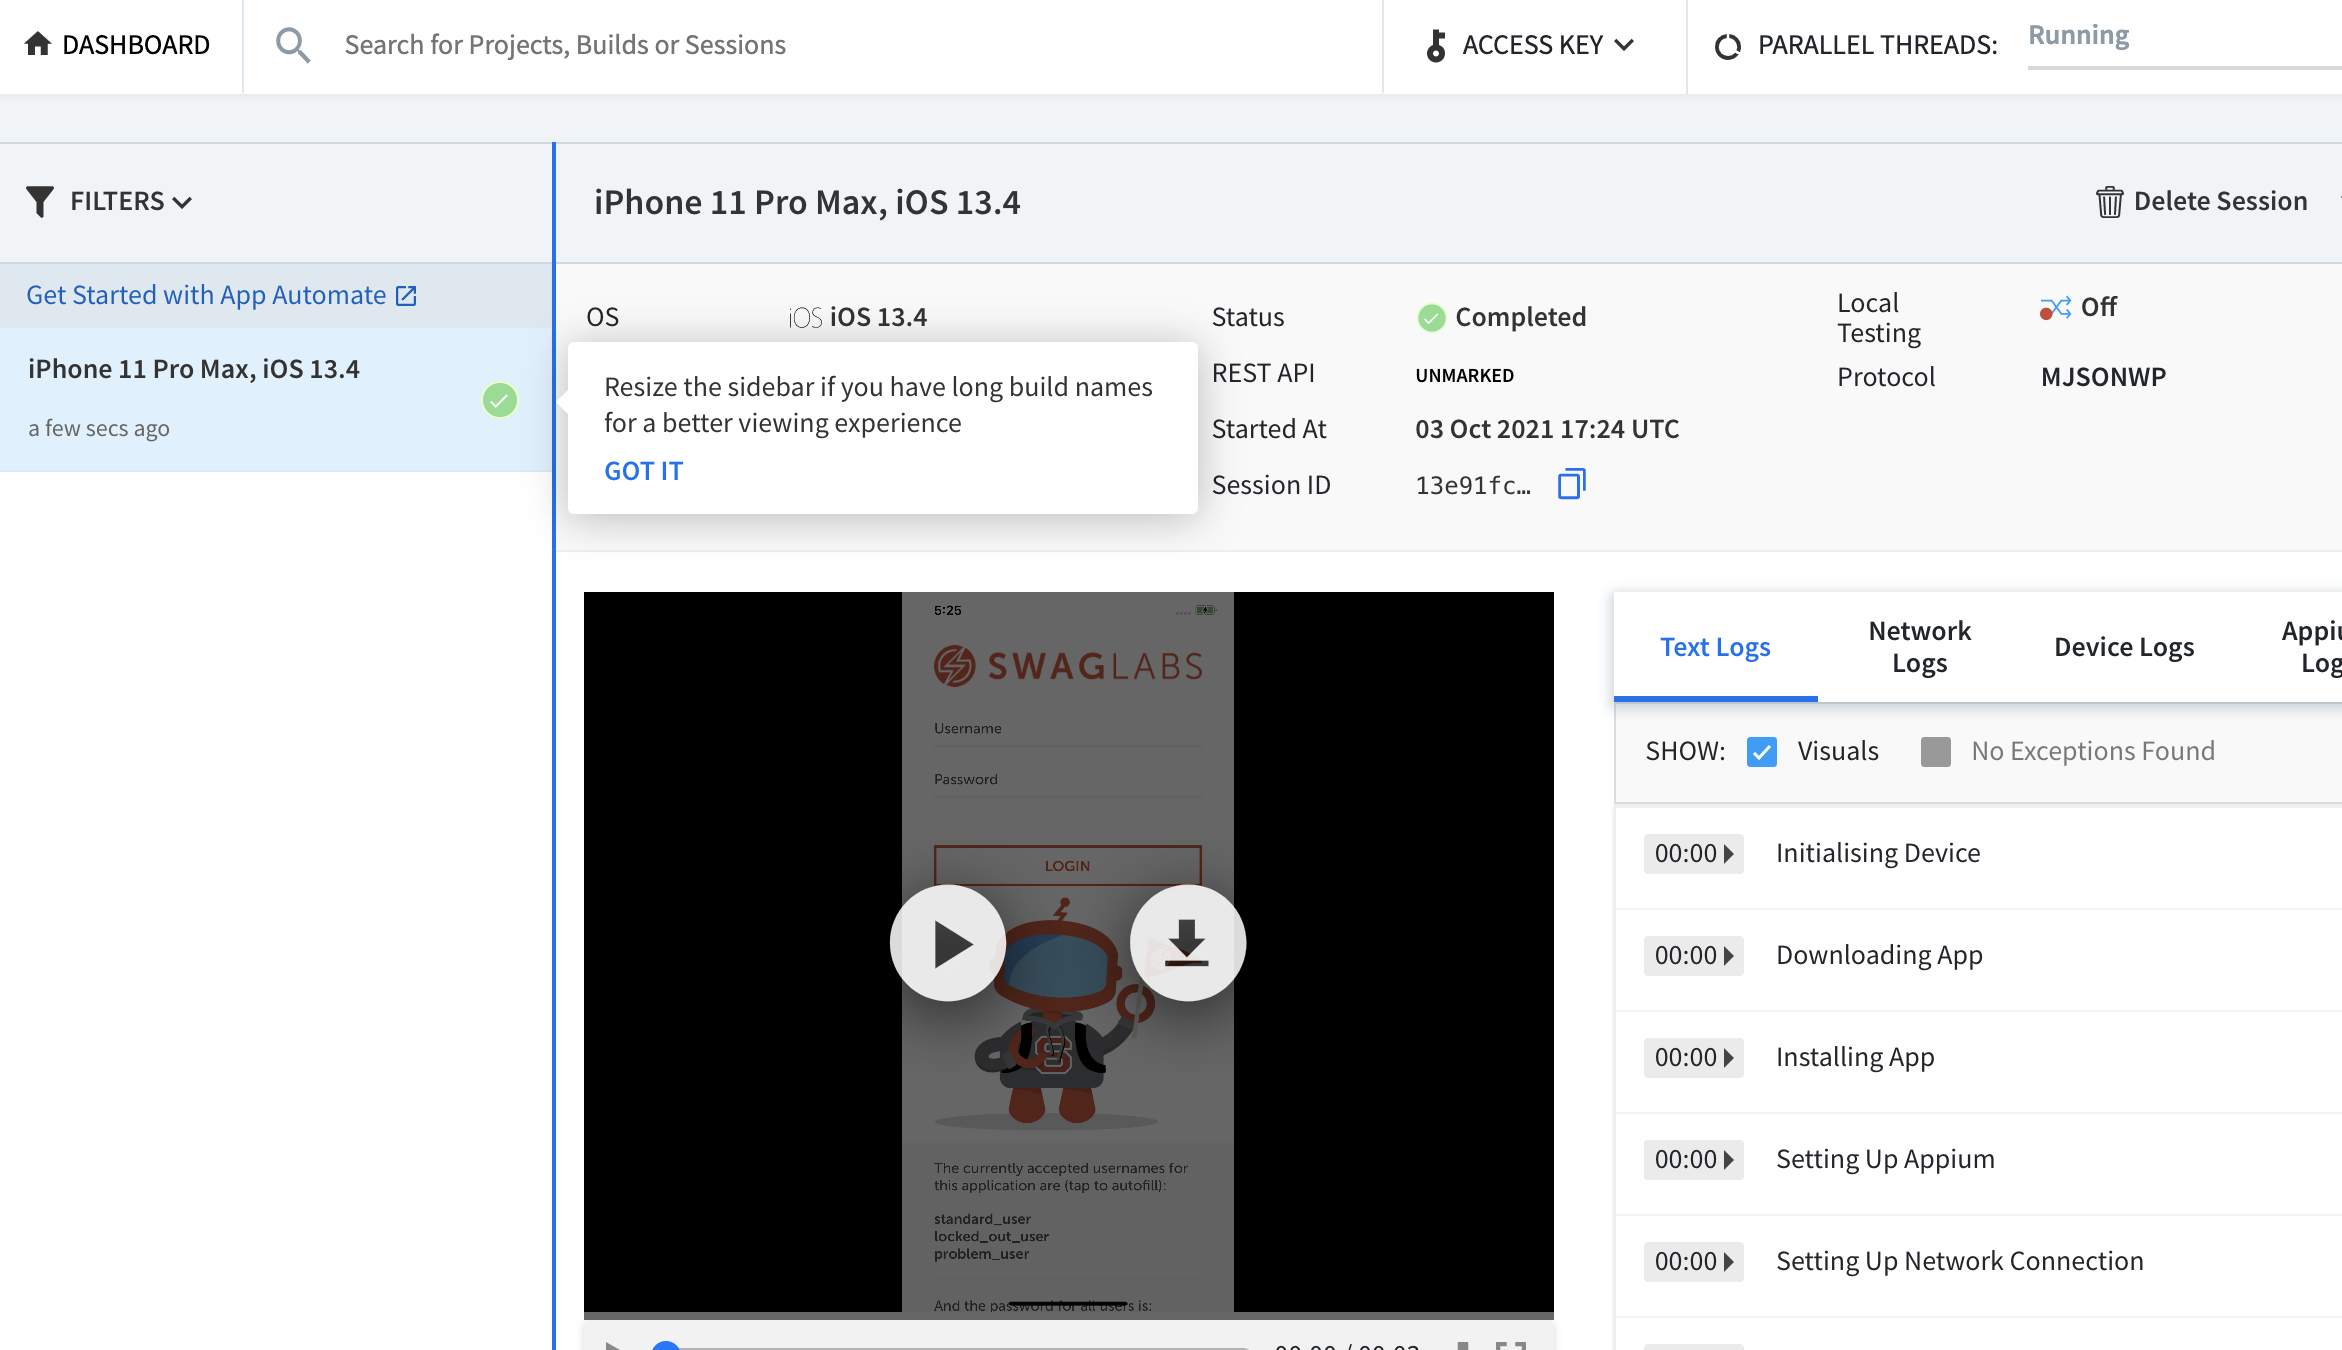
Monitor the “App Automate” section in BrowserStack for execution details

Avoid clear text credentials in cloud config file
It is not a good practice to specify clear text passwords in any of the source files and configurations. Pass the password as a command-line argument.
- Use this syntax
"${env: <arg name>}"for the required fields in the browserstack.json file, provided an example below:
{
  "username": "${env:BROWSERSTACK_USERNAME}",
  "accessKey": "${env:BROWSERSTACK_ACCESS_KEY}",
  "hub": "hub-cloud.browserstack.com"
}
- Pass these system properties to Gradle task:
    systemProperty "config", System.getProperty("config")
    systemProperty "BROWSERSTACK_USERNAME", System.getProperty("BROWSERSTACK_USERNAME")
    systemProperty "BROWSERSTACK_ACCESS_KEY", System.getProperty("BROWSERSTACK_ACCESS_KEY")
- The complete Gradle task
task runMobileTests(type: Test) {
    filter {
        excludeTestsMatching "*.web.*"
        excludeTestsMatching "*.api.*"
        excludeTestsMatching "*.db.*"
    }

    systemProperty "config", System.getProperty("config")
    systemProperty "BROWSERSTACK_USERNAME", System.getProperty("BROWSERSTACK_USERNAME")
    systemProperty "BROWSERSTACK_ACCESS_KEY", System.getProperty("BROWSERSTACK_ACCESS_KEY")

    outputs.upToDateWhen { false }
    useTestNG {
        parallel = "methods"
        threadCount Integer.parseInt(System.getProperty("sessions", "2"))
        includeGroups System.getProperty("tags", "mobile")
        testLogging.showStandardStreams = true
        useDefaultListeners true
        outputDirectory = file("$buildDir/" + System.getProperty('tags', 'NONE'))
    }
}
Execute the test in terminal or CI as below:
./gradlew runMobileTests -Dconfig=mobile.remote -DBROWSERSTACK_USERNAME=<username> -DBROWSERSTACK_ACCESS_KEY=<access_key>
Execute the test by locking/unlocking the cache:
We can lock and unlock the cache by using the config cloud.browserstack.cache.lock
- true(default): It will lock the device for each test
- false: It will randomly select the device for each test
Now lets execute the test by passing the config as below:
./gradlew runMobileTests -Dconfig=mobile.remote -DBROWSERSTACK_USERNAME=<username> -DBROWSERSTACK_ACCESS_KEY=<access_key> -Dcloud.browserstack.cache.lock=<true/false>
