Mobile Quick Start Guide
Quick Start guide for mobile test automation using ekam
Let us do a quick swag mobile app login as part of this quick guide.
Pre-requisite
Connect a physical device or an emulator
Step 1: Download the sample app
Download a sample android app
cd app && wget https://github.com/testvagrant/Ekam-Template/releases/download/androidapp/sample_app.apk && cd ..
Download a sample iOS app
cd app && wget https://github.com/testvagrant/Ekam-Template/releases/download/iosapp/sample_app.ipa && cd ..
Step 2: Open the example mobile test
Let’s open src/test/java/ekam/example/mobile/MobileExampleTest.java
package ekam.example.mobile;

import com.testvagrant.ekam.testBases.testng.MobileTest;
import static com.testvagrant.ekam.commons.LayoutInitiator.*;
import ekam.example.mobile.screens.LoginScreen;
import org.testng.annotations.Test;
import static org.testng.Assert.*;

@Test(groups = "mobile")
public class MobileExampleTest extends MobileTest {

    public void shouldLoginSuccessfully() {

        boolean cartDisplayed = Screen(LoginScreen.class)
                .login()
                .isCartDisplayed();
        assertTrue(cartDisplayed, "Cart is not displayed");
    }
}
Step 3: Execute test from command line
Let open ./gradlew clean build runMobileTests
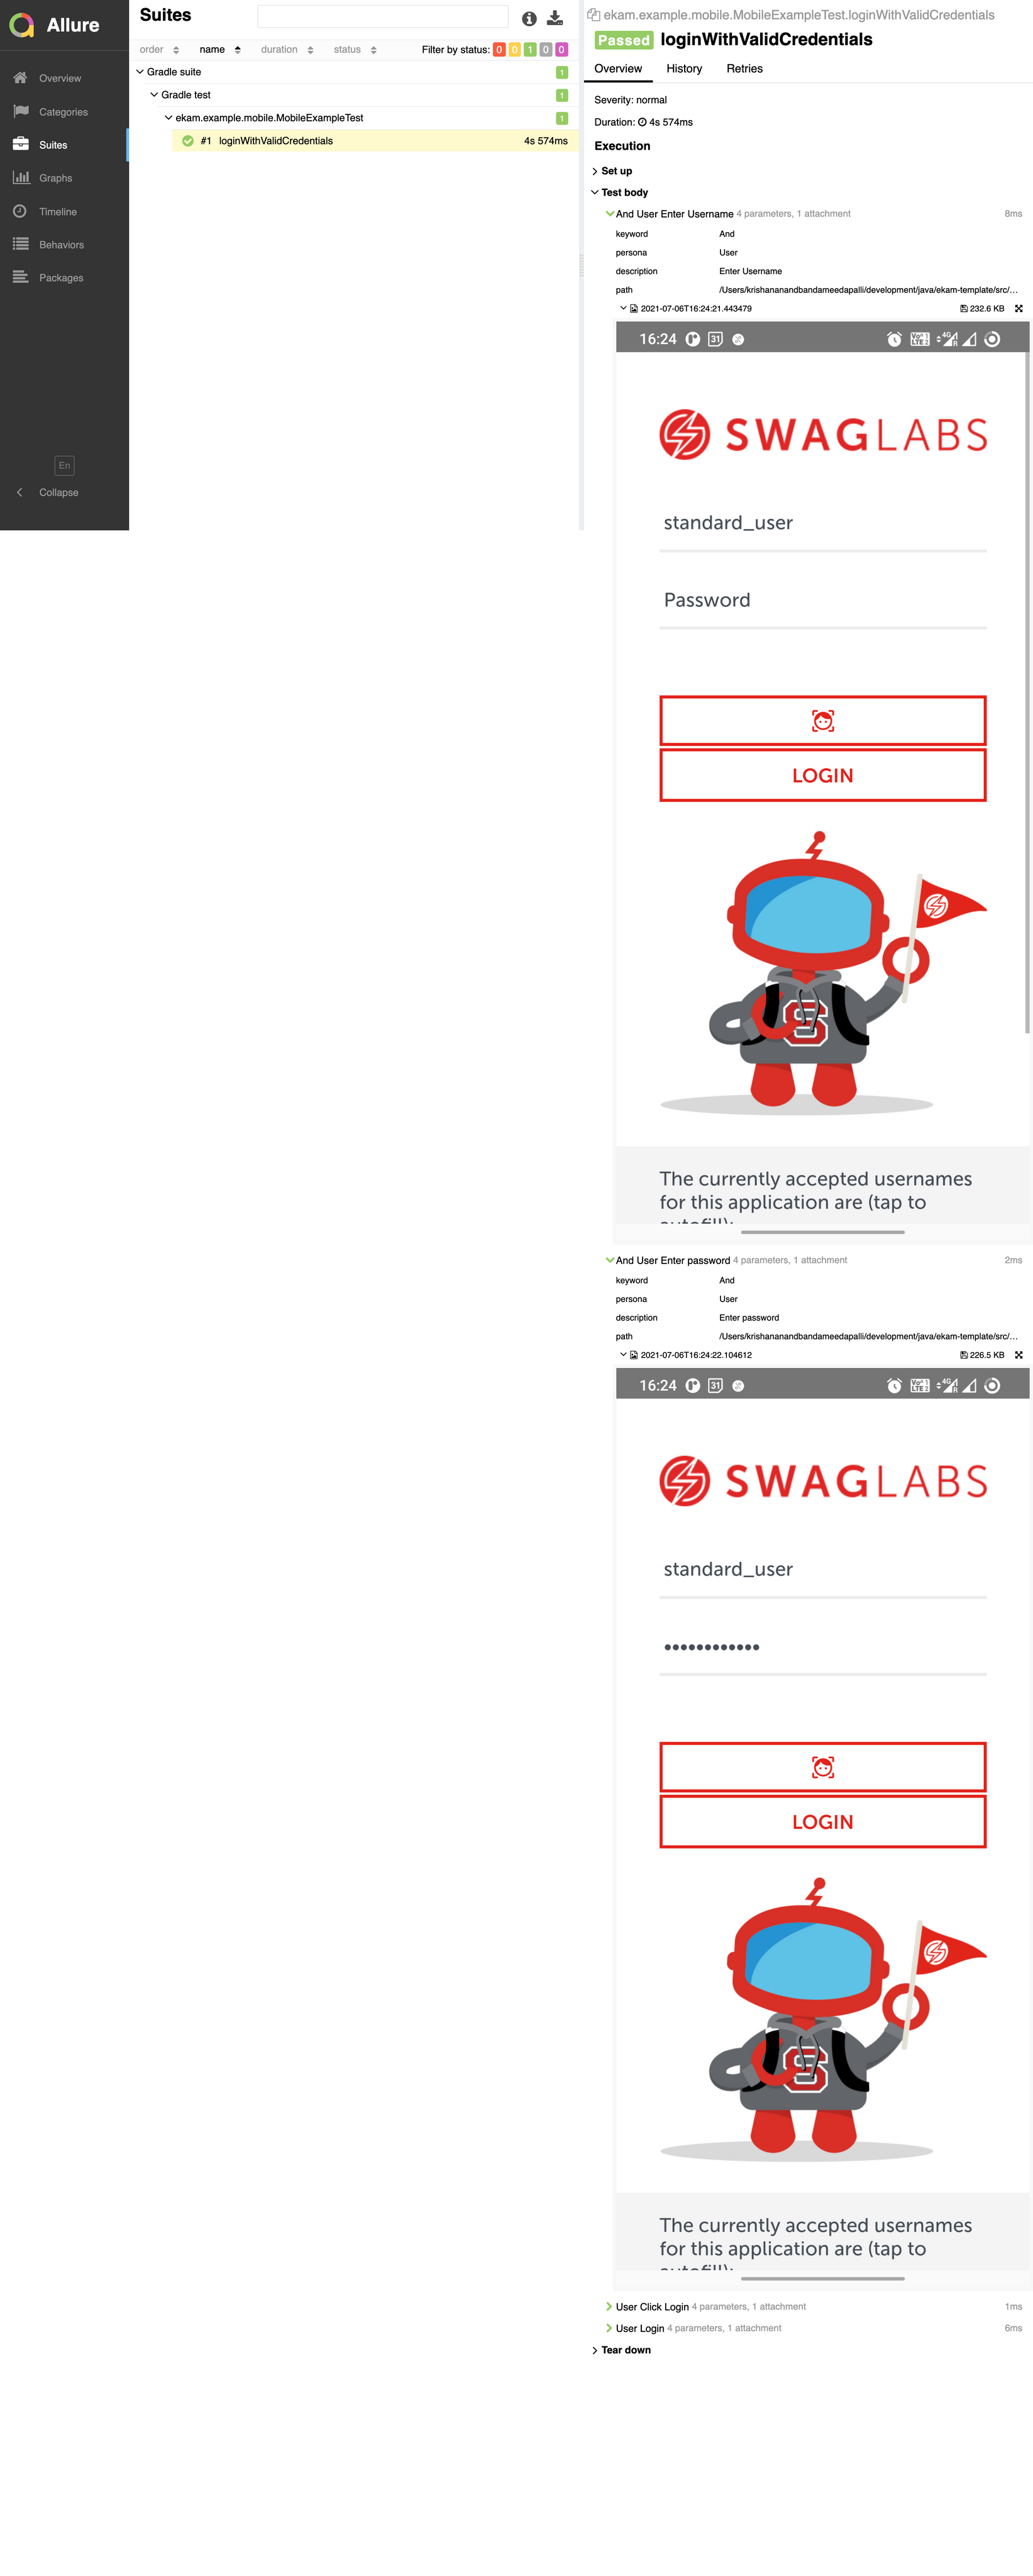
Step 4: View reports
Ekam by default generates an allure report. To view the recent run execute the below command
./gradlew allureServe
The command once executed successfully will launch a report on your default browser.

Congratulations!! you have successfully kick-started Mobile test automation with Ekam.
Next steps
These are the bare minimum steps required to build and run mobile tests on Ekam.
Please jump to Mobile automation section to explrore capabilities of Ekam
