Selenoid
Pre-Requisite
Please go through this link to make sure you have installed docker & Configuration Manager.
Setup Docker in IntelliJ Idea
The Ekam plugin installs the Docker plugin as part of the installation. Now we need to configure Docker within IntelliJ Idea. For this.
IntelliJ Idea → Preferences → Build, Execution, Deployment → Docker
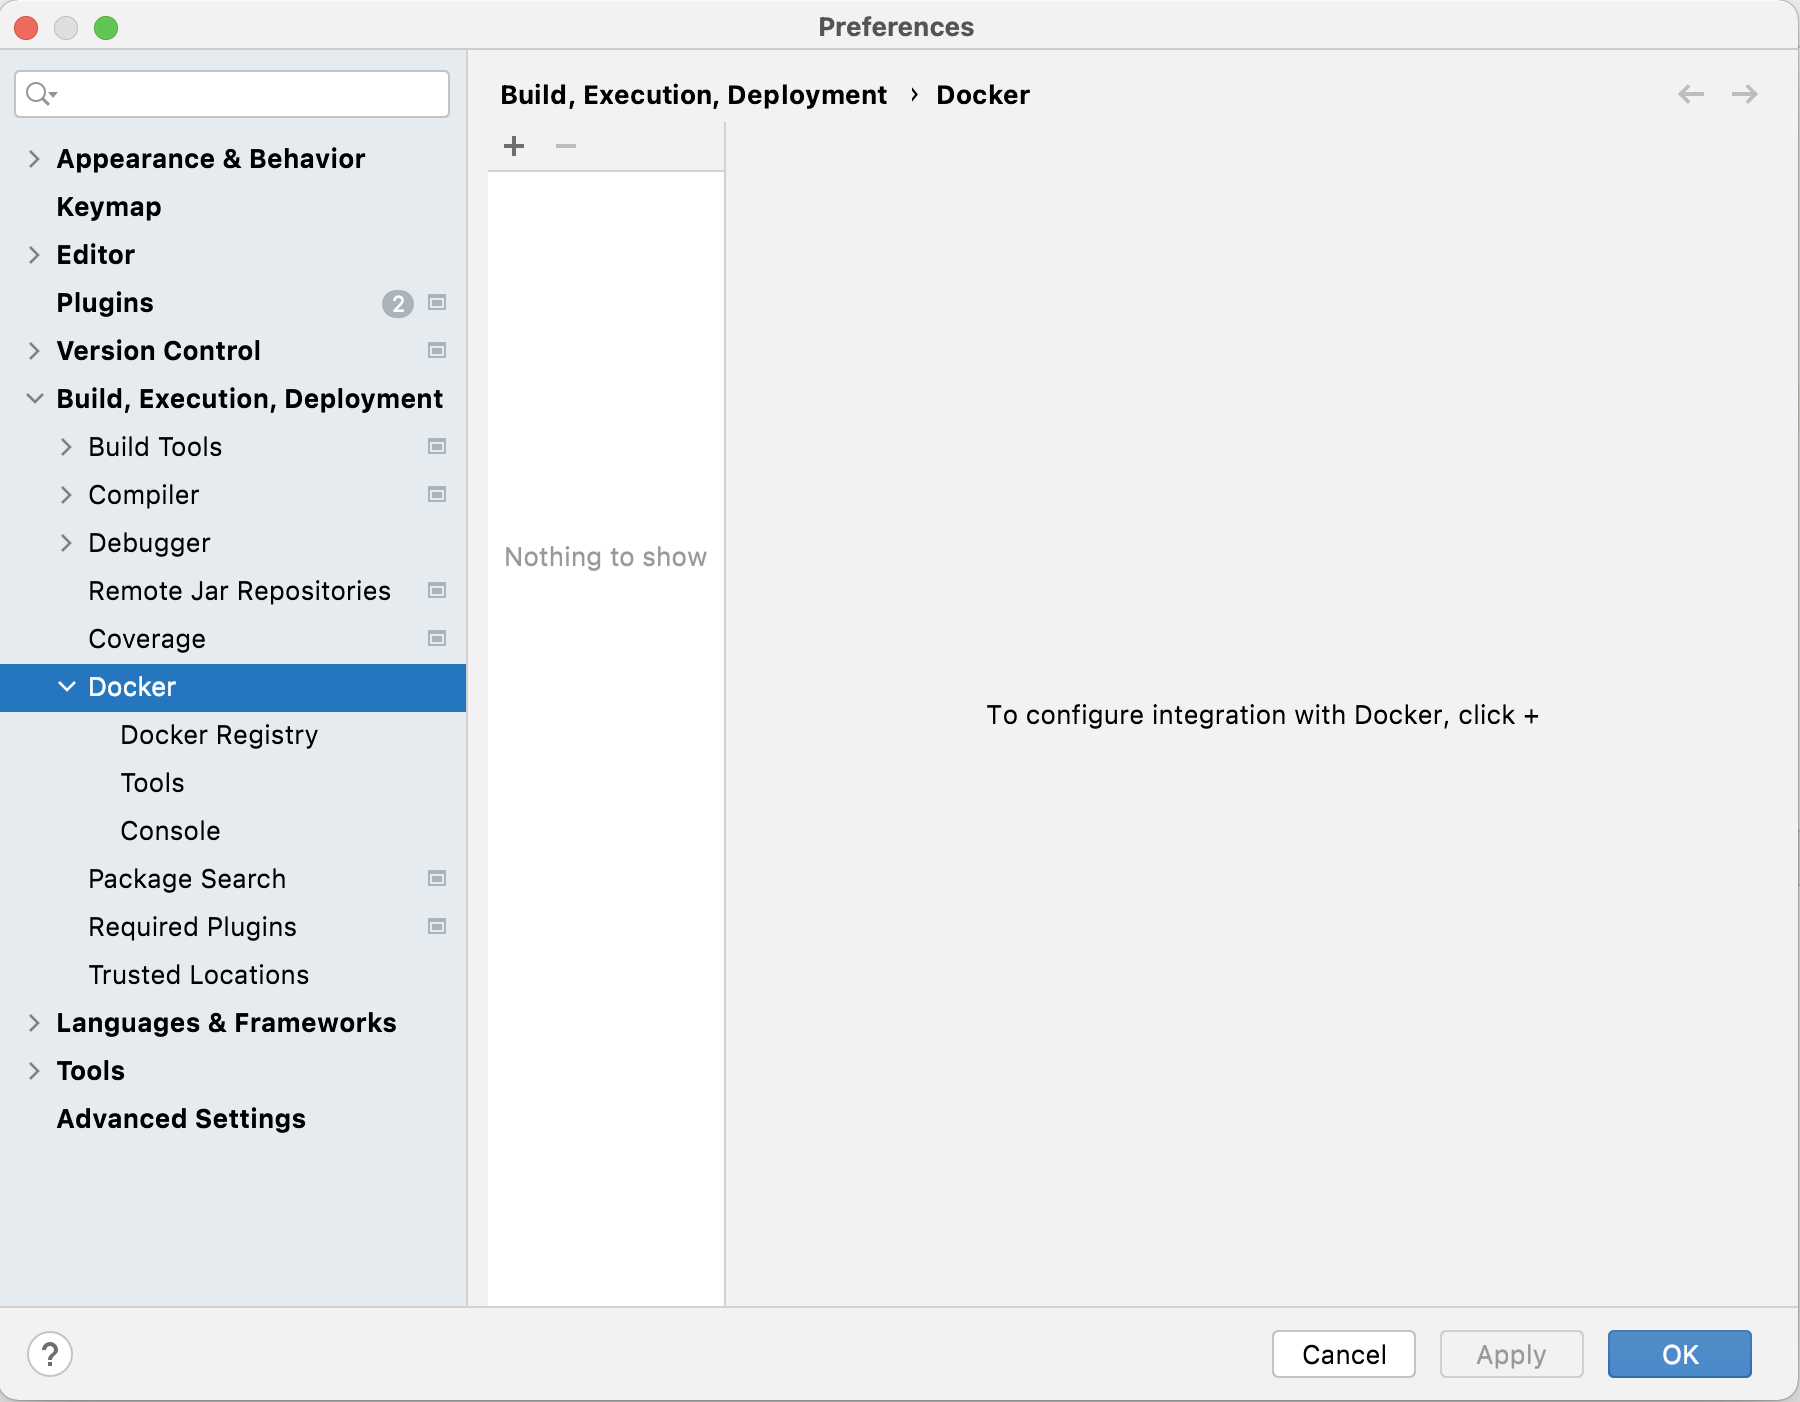
Click on the + button to configure Docker
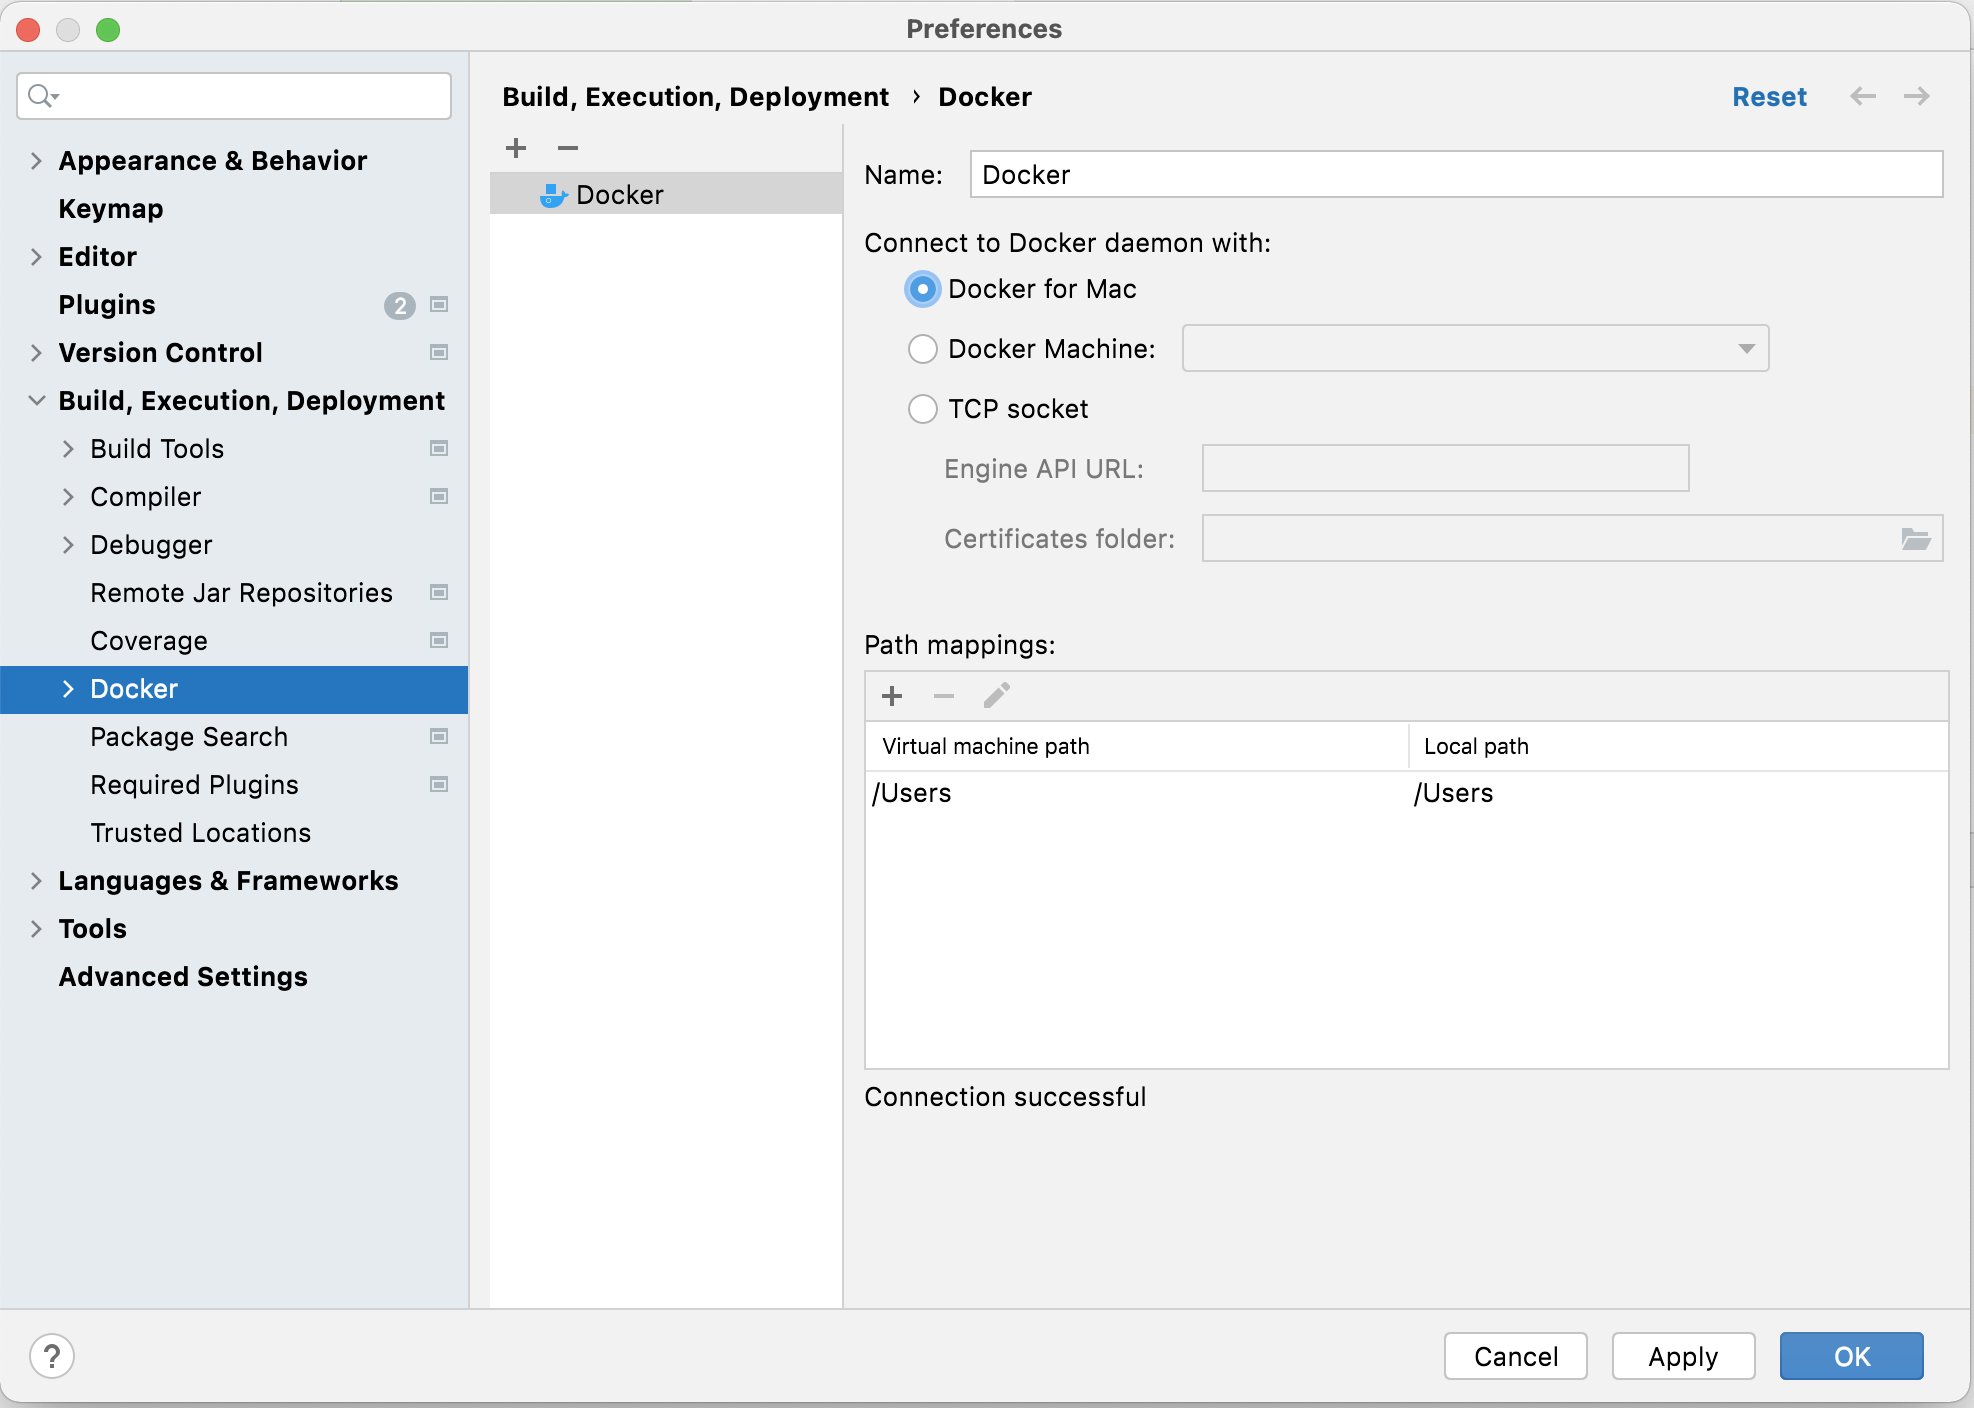
Click Apply button. Then the OK button to dismiss the window.
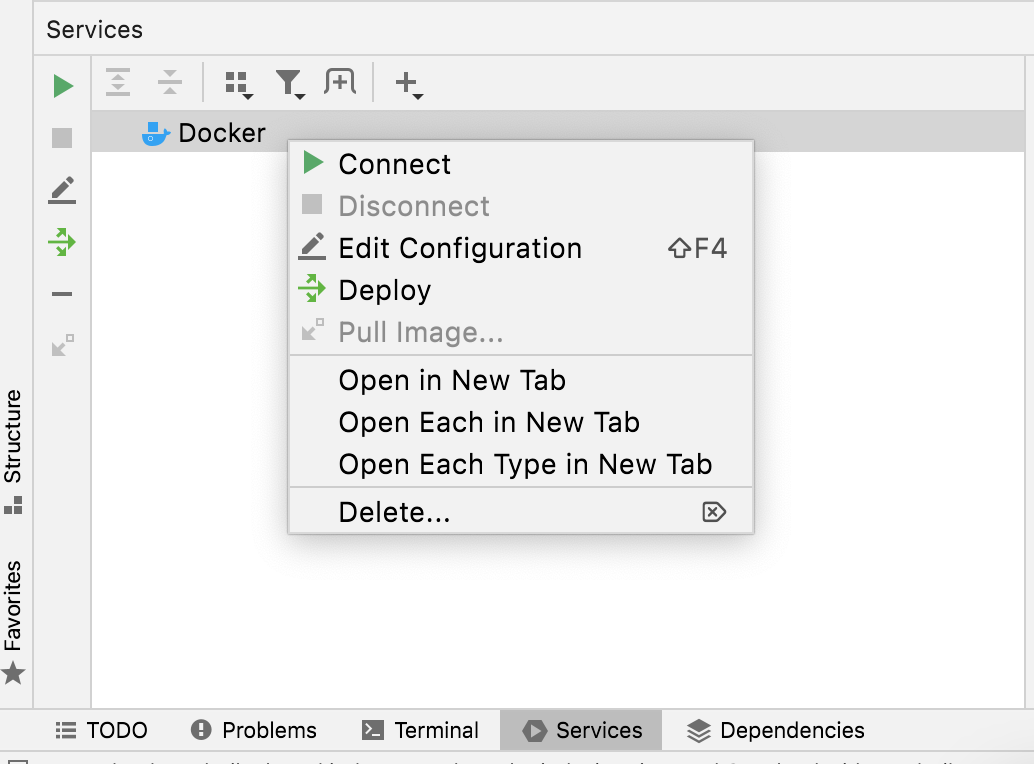
Now you would see the Docker window in your IDE. Right-click and choose Connect.
Bring up Selenoid containers
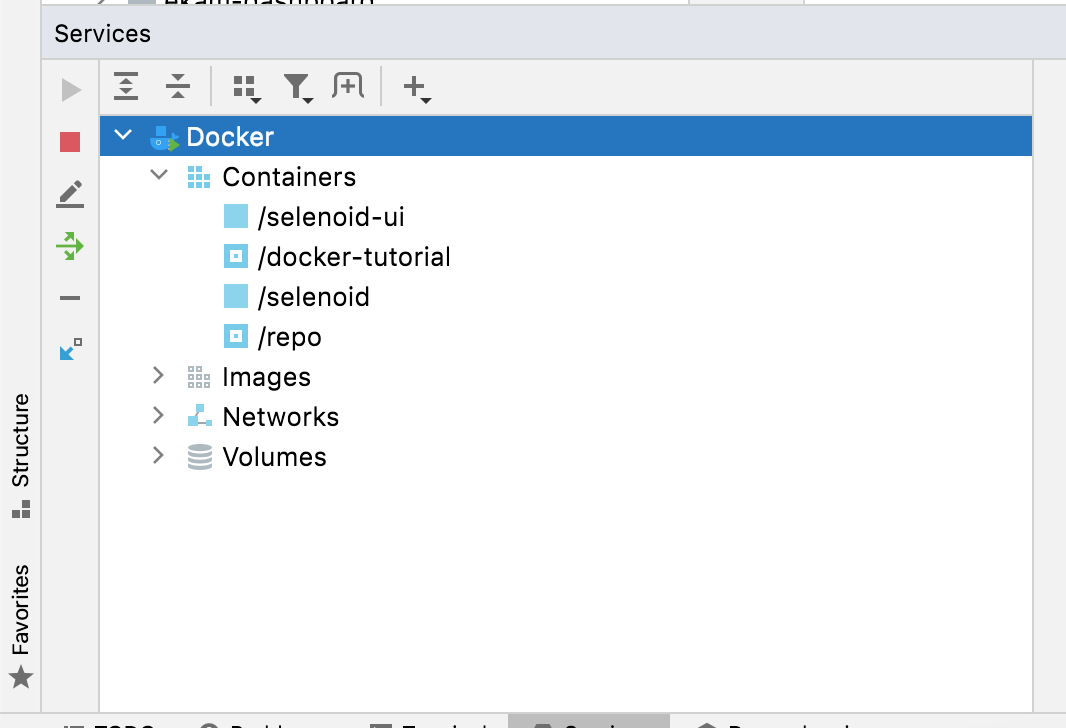
You would see Containers and Images.
Right-click on selenoid and Start container. Start selenoid-ui container too.
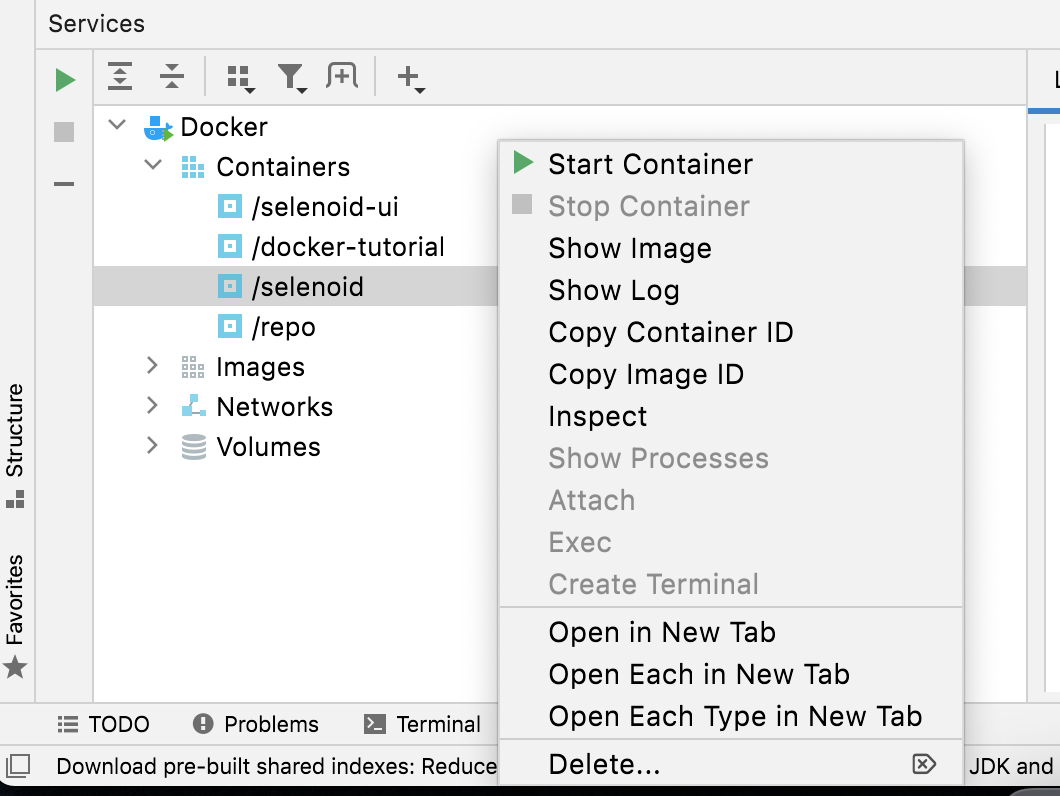
Open http://localhost:8080 & observe that selenoid-ui is up.

open http://localhost:4444/wd/hub
and you should see text You are using Selenoid 1.10.4!
Now let us make Ekam execute tests against Selenoid containers
Here are steps
Create a webfeed specific to Selenoid
Create a cloud-config file specific to Selenoid
Create a config to use 1 and 2
Create a webfeed specific to Selenoid
Let us create webfeed file
src/test/resources/cloud_config/selenoid/selenoid-webfeed.json
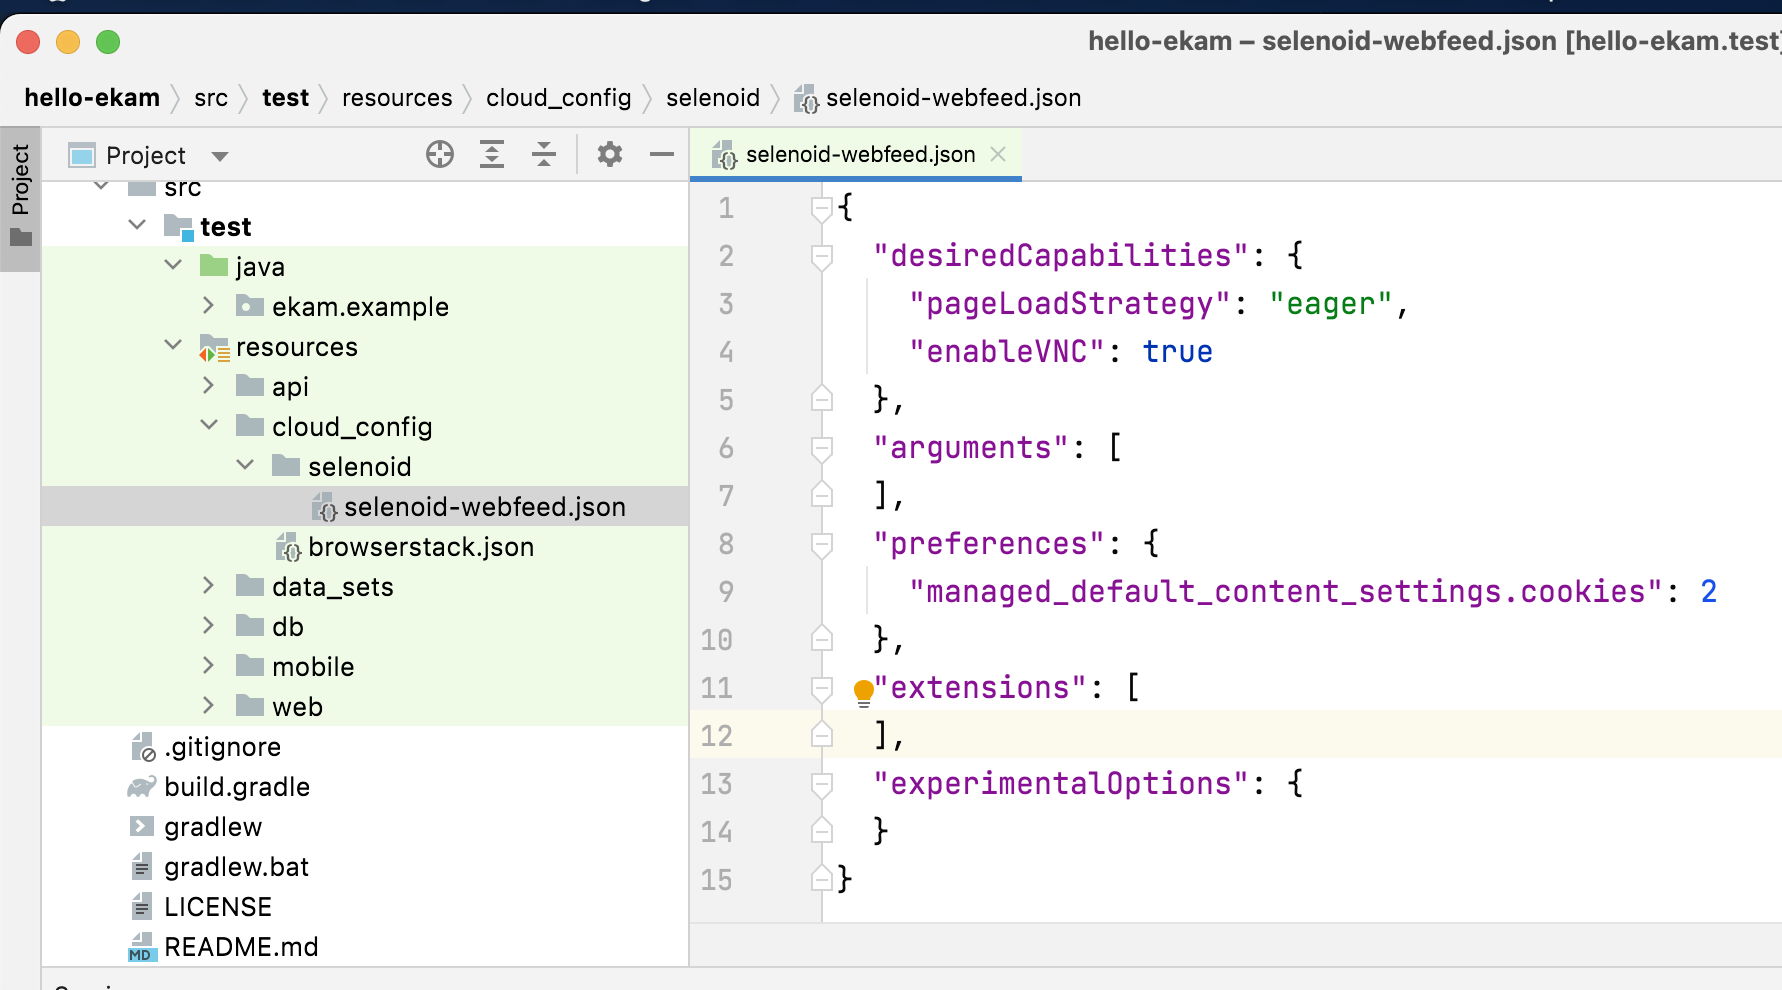
content as below:
{
  "desiredCapabilities": {
    "pageLoadStrategy": "eager",
    "enableVNC": true
  },
  "arguments": [
  ],
  "preferences": {
    "managed_default_content_settings.cookies": 2
  },
  "extensions": [
  ],
  "experimentalOptions": {
  }
}
Please observe that enable VNC is set to true.
Create a cloud-config file specific to Selenoid (Hub)
Let us create cloud-config file
src/test/resources/cloud_config/selenoid-local-hub.json
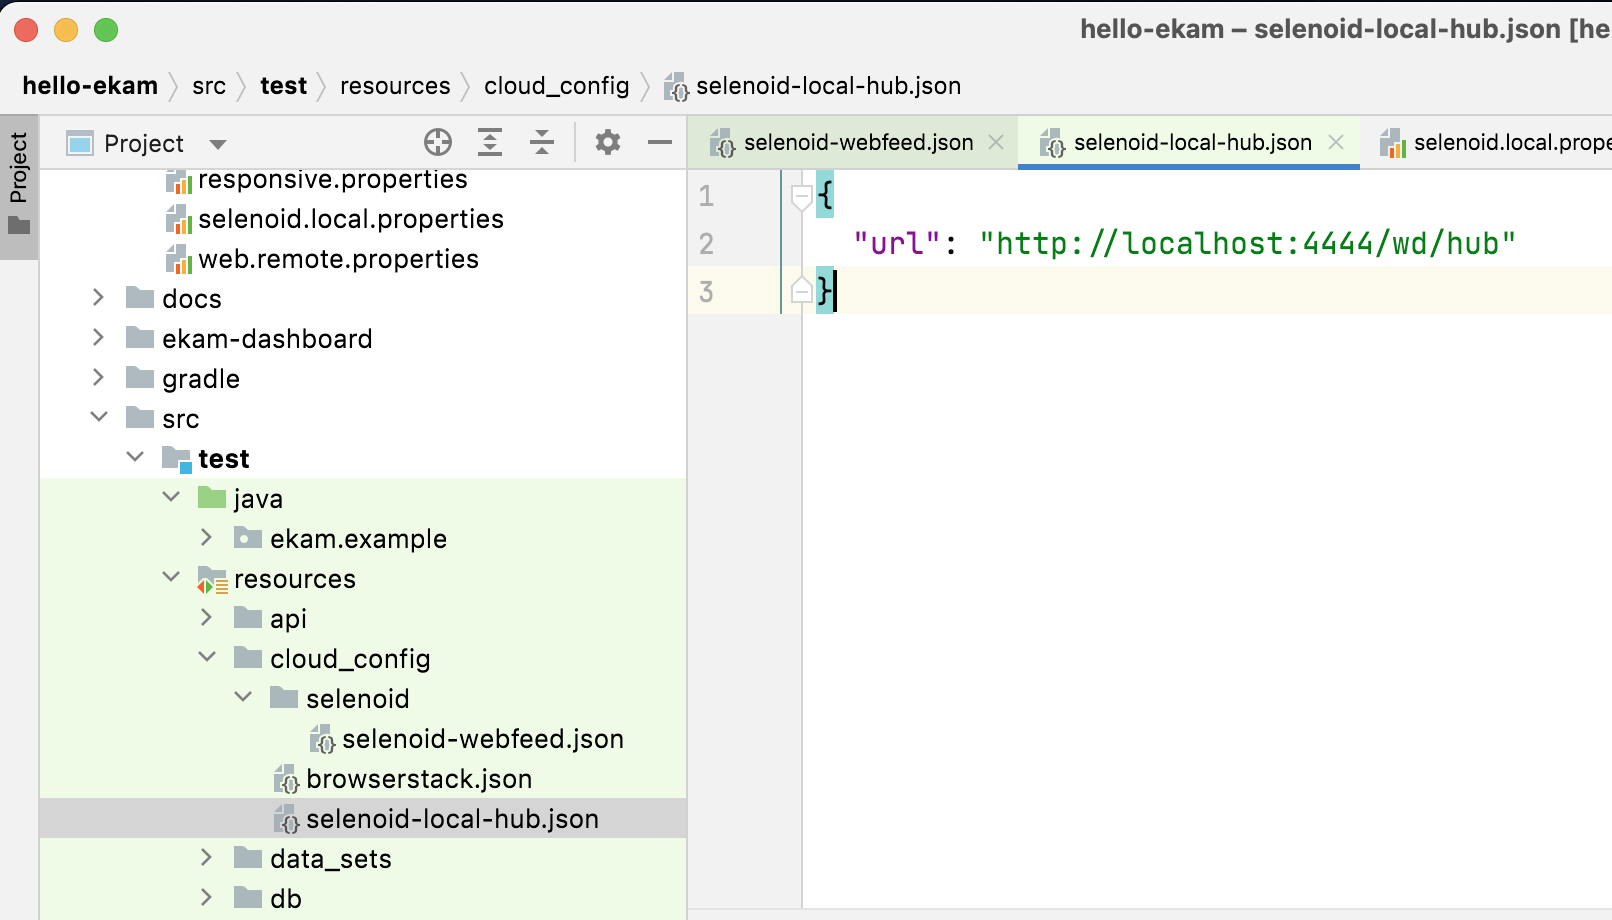
content as below:
{
  "url": "http://localhost:4444/wd/hub"
}
Create a config to the files we created
Let us create selenoid.local.properties under config.properties
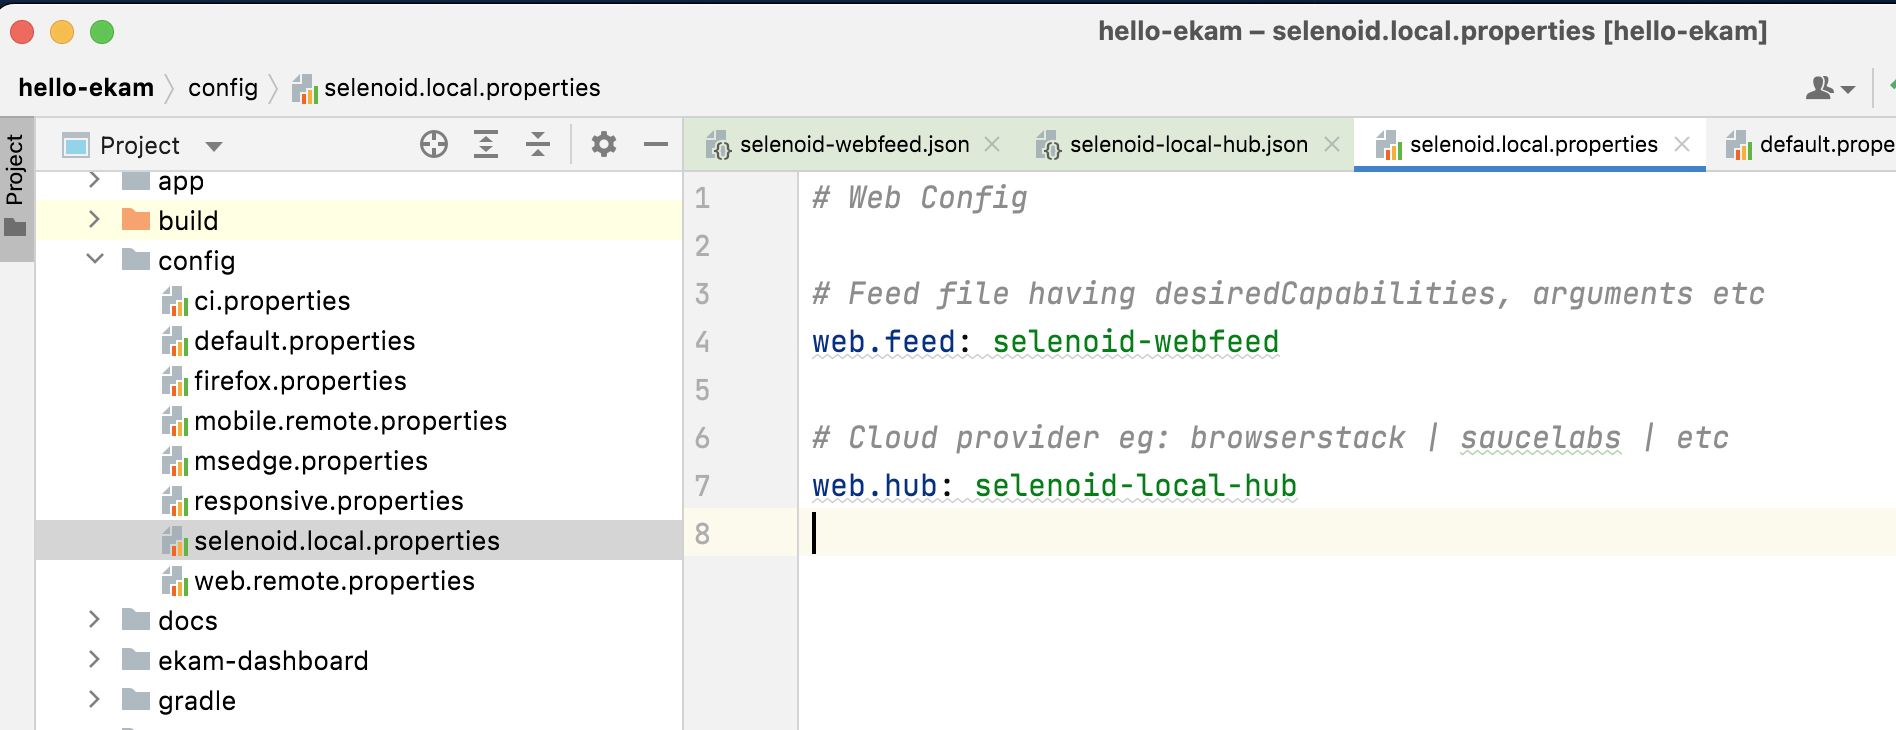
Lets execute our tests !!
./gradlew clean runWebTests -Dconfig=selenoid.local
Hurray !! We executed our test as part of Selenoid.
Let us say your team/company has hosted Selenoid hub centrally, then all that you need to do is to - update cloud-config file to mention the hub url.
